
When Should Wood Trim Be Replaced? 7 Signs
A baseboard that has been bumped by a vacuum is one thing. A window casing that feels soft when you press it, separates at the corner, or keeps bleeding brown stains through fresh paint is another. When should wood trim be replaced? The answer usually comes down to what is happening behind the finished surface, not just how rough it looks from across the room.
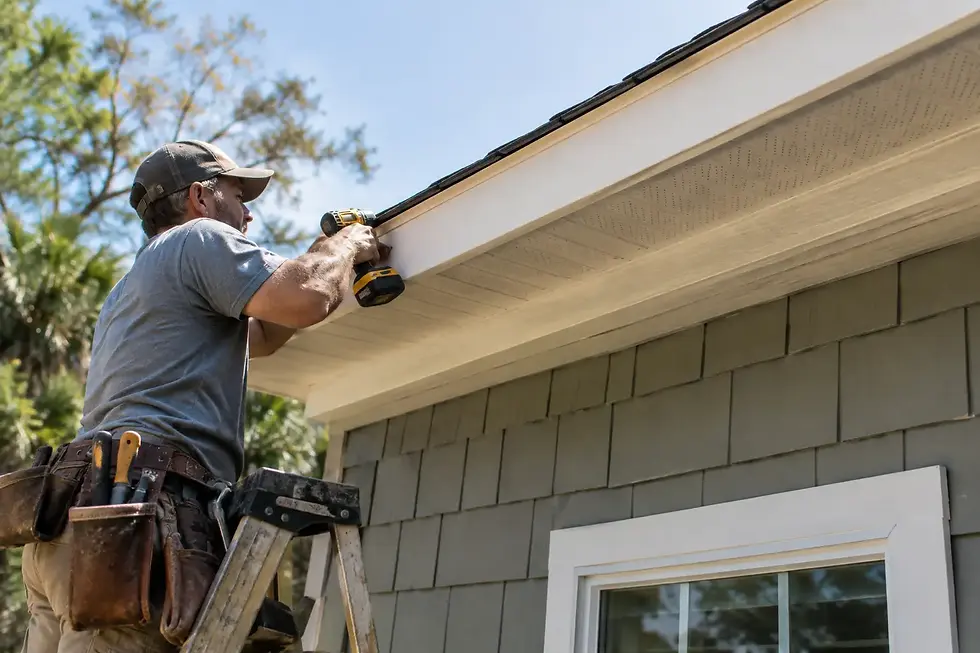
Good trim does more than frame a door or make a room look finished. Exterior trim helps manage water around windows, doors, soffits, and siding transitions. Interior trim covers expansion gaps, protects wall edges, and gives the room clean lines. When it starts failing, paint can hide the problem for a while, but it cannot correct damaged wood, trapped moisture, or a loose installation.
When Should Wood Trim Be Replaced Instead of Repaired?
Trim should be replaced when the wood has lost its strength, its profile cannot be restored cleanly, or the condition causing the damage has not been corrected. Replacement is also the better choice when a small patch would leave several mismatched joints or when removing the trim is necessary to inspect what is behind it.
That does not mean every dented board needs to come off the wall. Solid wood with minor nail holes, shallow scratches, small open caulk lines, or a localized paint failure can often be repaired and refinished. The key is being honest about the condition of the material underneath.
1. The wood is soft, crumbly, or rotted
This is the clearest sign. If a screwdriver presses into a window sill, exterior corner board, door casing, or fascia trim with very little effort, the wood fibers have broken down. Filling the surface may make it look better temporarily, but the repair will not have solid material to hold onto.
Wood rot needs more than a replacement board. The source of water has to be found first. It may be failed caulk, a missing drip edge, a leaking gutter, an unsealed fastener hole, or water getting in at a roof or siding transition. The things you do not see are often what determine how long the finished project lasts.
In Slidell and across the Northshore, heat, humidity, wind-driven rain, and heavy storm events can expose weak exterior details quickly. A proper repair means removing compromised material, checking the framing or sheathing behind it, correcting the water path, and then installing trim that is properly sealed and detailed.
2. Paint keeps peeling in the same area
Peeling paint does not always mean the trim itself is ruined. Sometimes the previous coating was applied over dirty wood, damp wood, or an incompatible layer of old paint. But paint that repeatedly peels, bubbles, or develops dark staining in one spot deserves a closer look.
On exterior trim, recurring failure near a joint or lower corner often points to moisture entering from behind or soaking into an exposed end grain. On interior trim, it can be a clue that moisture is coming from a plumbing leak, a poorly sealed window, or a high-humidity area that needs better ventilation.
If the wood remains hard and dry after the cause is corrected, scraping, sanding, priming, and repainting may be enough. If the coating failure is hiding soft or swollen wood, replacement is the more dependable repair.
3. The trim is swollen, split, or badly warped
Wood moves with changes in moisture. A little seasonal movement at a painted joint is normal, particularly where different materials meet. A board that has cupped, bowed away from the wall, split along its length, or swollen enough to bind against a door is not simply a cosmetic issue.
Warped exterior trim may have absorbed water repeatedly or been installed without adequate fastening and expansion consideration. Interior casing can move when it gets wet from a leak or when thin material was installed where a more stable product was needed. Once a board has taken a significant set, trying to force it flat usually creates more problems at the joints.
Replacing the affected piece gives the repair a clean starting point. The new trim should be acclimated as needed, fastened correctly, and installed with joints and paint details that account for normal movement.
4. Joints keep opening after they are caulked
A hairline caulk crack at a miter joint is common maintenance. Caulk is flexible, but it is not a structural fastener. If a door casing joint keeps opening, baseboards pull away from the wall, or crown molding separates at the ceiling, the trim may be moving because the material, fastening, or framing needs attention.
Sometimes the trim itself is still worth saving. A loose piece can be carefully resecured, joints can be reglued where appropriate, and the gap can be finished properly. Other times, the boards have been cut too short, the miters have broken down, or repeated repairs have left the profile uneven. Replacement produces a cleaner result and avoids chasing the same crack every season.
Before replacing interior trim, it is worth checking whether the wall or door opening is the real issue. Settlement, framing movement, a door frame that is out of square, or drywall damage can all affect how trim sits. Covering that up with wider caulk lines is not the same as solving it.
5. Water has damaged trim around a window or exterior door
Window and door trim is especially vulnerable because it sits where water management matters most. Stained lower casing, a spongy sill, rusting fasteners, cracked caulk at the top corners, or gaps where trim meets siding can all signal a problem worth investigating.
Replacement may involve only the visible trim, but it may also reveal damaged sheathing, framing, house wrap, or flashing details. That is why this work should not be treated as a simple paint-and-caulk project. New trim installed over a leak will fail just like the old trim did.
The right repair depends on the construction of the wall and the extent of the damage. In some cases, a localized trim replacement and corrected flashing detail are enough. In others, the window itself needs evaluation before new finish materials go back on.
6. Damage has gone beyond a clean, durable patch
Small holes, chips, and isolated gouges are normal wear. Quality filler and a careful paint repair can make them disappear. The decision changes when the damaged area is large, near a joint, or along an edge that gets bumped often.
A filler patch on the flat face of a painted baseboard may hold up well. A large patch on the sharp edge of a stair skirt board, door casing, or exterior corner is more likely to crack or show through over time. If the profile is missing, several areas are patched, or the board has been painted too many times to look crisp, replacement often gives better value than more repair work.
This matters most in high-visibility areas. Door casings, window trim, kitchen trim, built-ins, and main living spaces are where uneven repairs tend to stand out once light hits them from the side.
7. You are changing the room and the existing trim no longer works
Not all trim replacement is about damage. A remodel may call for new baseboards after flooring changes, wider casing to suit a renovated opening, or a consistent trim profile after an addition or partial update. Older trim can be perfectly sound but impossible to match cleanly.
There is a trade-off here. Replacing all of the trim in a room costs more than patching or blending a few pieces, but it can create a more intentional result. Keeping existing trim preserves character and may be the smarter choice when matching material is available. The right call depends on the room, the budget, and whether the new work can be made to look like it belongs.
Repair or Replacement Starts With the Cause
The best decision is rarely made by looking at one board alone. A careful evaluation considers where the trim is located, whether it is interior or exterior, how water moves around it, what the substrate looks like, and whether the damage is isolated or repeating.
For exterior wood, the sequence matters: stop the water, remove the failed material, repair any concealed damage, install the replacement correctly, then prime, caulk, and paint. Reversing that order may improve the appearance for a season, but it does not make the assembly last.
For interior trim, the goal is clean fit, solid fastening, tight joinery, and a finish that holds up to everyday use. If there is a leak, wall damage, or door-frame problem, that gets addressed before the finish work is closed up.
If you are unsure whether your trim can be repaired, take a close look after a rain, around lower corners, and anywhere paint has failed more than once. A good repair should leave you with more than a fresh coat of paint. It should leave the area dry, solid, properly supported, and built to last.

Comments