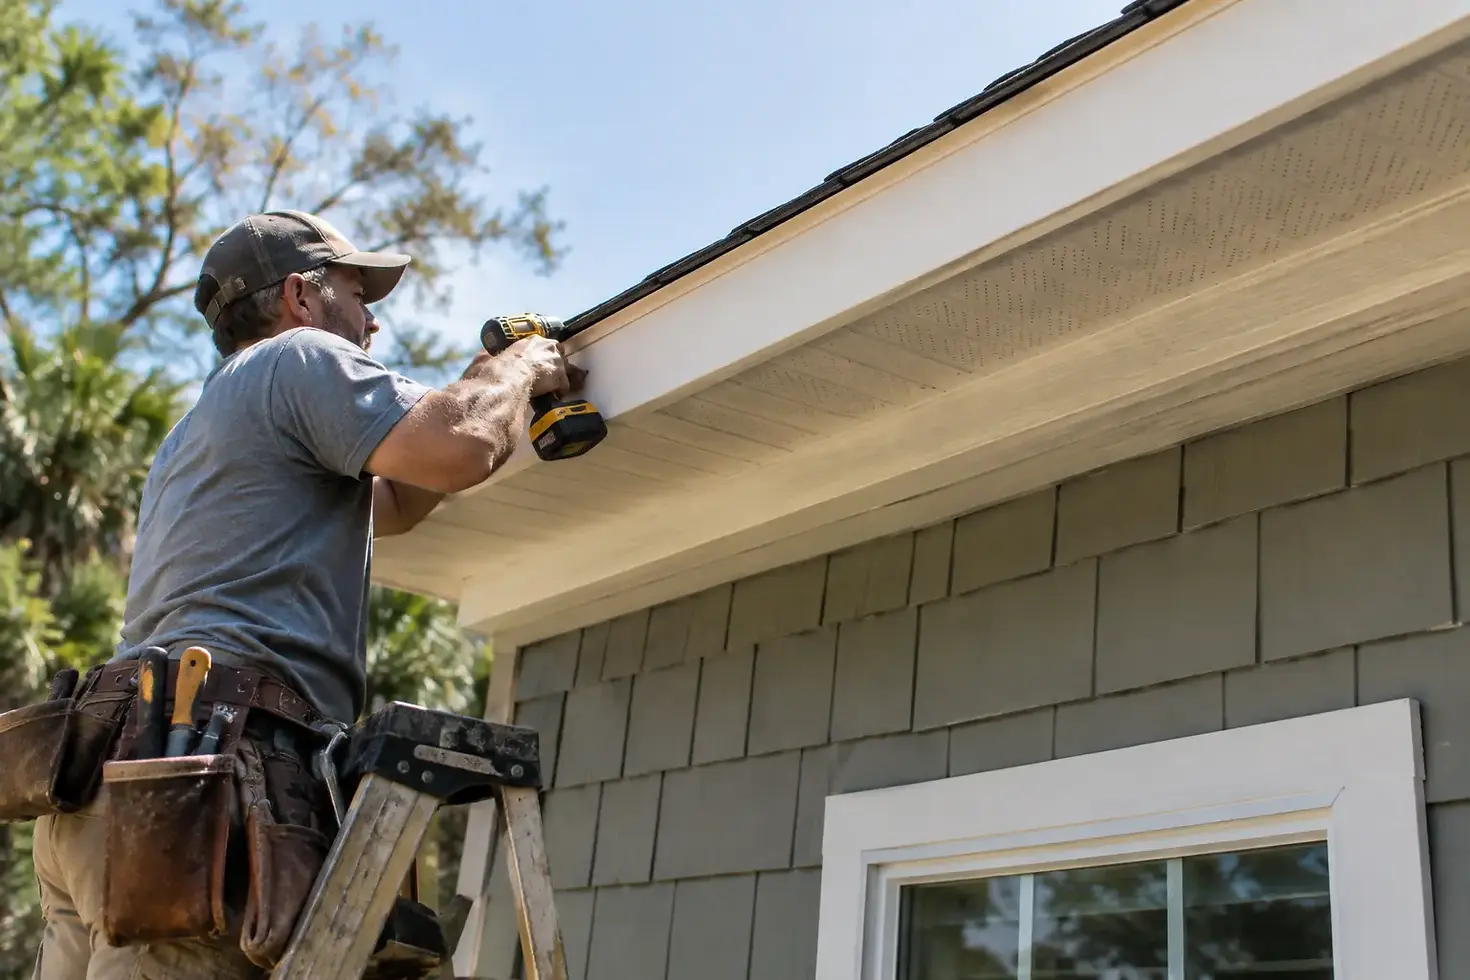
Slidell Fascia Replacement Guide for Homeowners
A fascia board can look like a simple piece of trim until it starts failing. Then gutters loosen, paint peels, soffits open up, and water finds its way into parts of the roof edge that were supposed to stay dry. This Slidell fascia replacement guide explains what homeowners should look for, what a proper repair involves, and why replacing only the visibly damaged section is not always enough.
Along the Northshore, fascia takes a steady beating from heat, humidity, wind-driven rain, and the moisture that sits behind clogged gutters. The finished board is visible from the yard, but the details behind it often determine whether the repair lasts.
What Fascia Does at the Roof Edge
Fascia is the board mounted along the ends of the roof rafters. It creates a straight finished edge below the roofline and provides a solid mounting surface for gutters. On many homes, it also works with the soffit, drip edge, roof decking, and trim to close up the eaves.
That means fascia is more than exterior trim. If it softens or separates from the framing, the gutter may no longer have solid wood to fasten into. Water can then run behind the gutter, soak the board again, and spread damage into the soffit or rafter tails.
A clean paint job can make fascia look better for a while, but paint cannot restore rotten wood. If the board has lost its strength, the right repair starts by finding out why it got wet in the first place.
Signs Your Fascia May Need Replacement
Some fascia problems are easy to see from the ground. Others show up when a gutter starts pulling away or a painter presses on the board and finds soft wood. Watch for peeling paint concentrated along the roof edge, dark stains below gutters, open joints at corners, sagging gutter runs, or sections that look wavy instead of straight.
You may also notice soffit panels dropping, gaps where insects can enter, or water staining on exterior walls below the eaves. These signs do not always mean the entire fascia run has failed. They do mean the area deserves a closer look before a small repair turns into a larger exterior problem.
A screwdriver test can reveal soft wood, but avoid probing aggressively from a ladder or damaging sound material just to investigate. The goal is to understand the extent of the issue, including what is behind the visible face board.
The Damage Is Often Bigger Than the Painted Surface
The lower edge of a fascia board commonly rots first because water collects there. Once moisture gets behind the paint film, it can travel along the board, into joints, and toward the framing. A board may feel solid in the middle while the bottom edge and fastening area are badly deteriorated.
Gutters can hide this damage for years. When the gutter is removed, it is common to find failed caulk, loose fasteners, missing drip edge coverage, or a section of roof decking that has been exposed to repeated water. That is why fascia replacement should not be treated as a simple cover-up job.
Find the Water Problem Before Replacing the Board
The first question is not, “What color should the new fascia be?” It is, “How is water getting there?” Common causes include overflowing gutters, gutters pitched the wrong way, leaking gutter seams, missing or improperly installed drip edge, roof leaks, and unsealed joints where trim pieces meet.
On older homes, the original board may simply be at the end of its useful life. In other cases, a new fascia board will fail quickly if the gutter is still holding water against it or roof runoff is slipping behind the gutter instead of into it.
The repair should account for the full roof-edge assembly. Roofing should shed water onto the drip edge. The drip edge should direct water toward the gutter. The gutter should move water away without backing up. Fascia needs to be straight, sound, properly fastened, and protected at its joints. Each part has a job, and a problem in one part affects the others.
What Proper Fascia Replacement Looks Like
A lasting repair begins with safe access and a close inspection. Depending on the location and amount of damage, the gutter may need to come down so the full face and lower edge of the fascia can be examined. The soffit area should also be checked for moisture damage, openings, and failed framing connections.
The damaged board is then removed carefully. This is the point where hidden conditions become clear. If the rafter tails are solid and the roof decking is in good shape, the repair may be limited to fascia and related trim. If framing or decking has deteriorated, those components need to be addressed before new finish material goes on.
New fascia should be installed straight and securely attached to sound framing. Seams and end cuts need attention because exposed end grain absorbs water easily. Where boards meet at corners or long runs, the joint detail matters. A sloppy joint may look acceptable on installation day, then open up after a season of movement and moisture.
Before gutters go back up, the installer should confirm that the roof edge and drip detail will send water where it belongs. Gutters should be fastened into solid material, pitched correctly, and kept from trapping water against fresh wood.
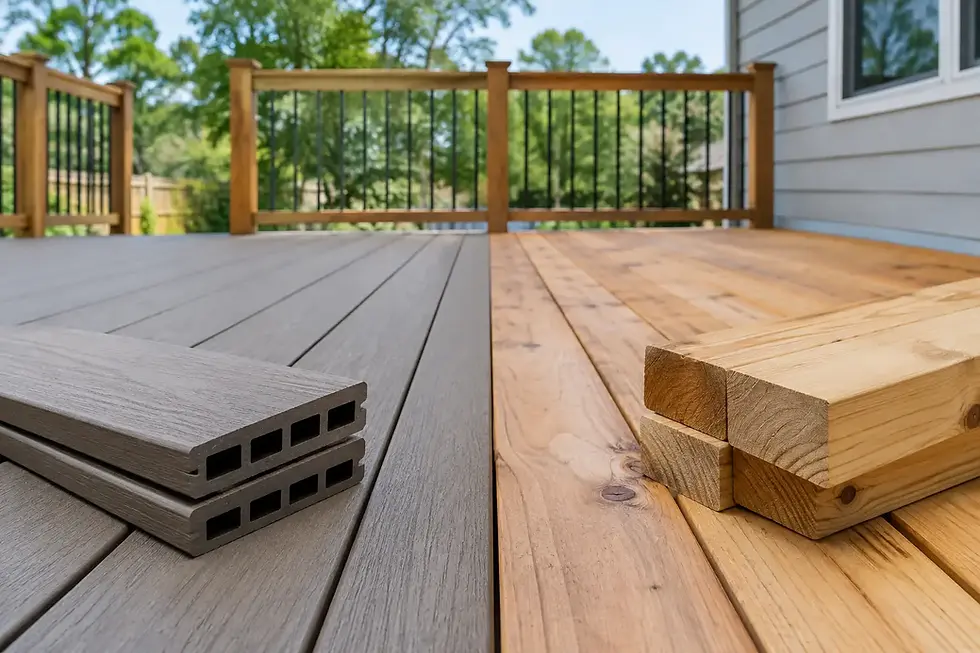
Replacement Materials: Wood, PVC, and Aluminum-Wrapped Fascia
The best material depends on the home, the surrounding trim, the gutter setup, and the condition of the roof edge.
Wood fascia remains a good choice when it is installed correctly, primed on all sides where appropriate, sealed at cuts and joints, and maintained. It is often the best match for homes with traditional painted trim and can be repaired in sections when necessary. The trade-off is maintenance. In a humid climate, neglected paint and failed caulk will eventually expose wood to moisture.
PVC fascia will not rot like wood, which makes it appealing in high-moisture locations. It still needs proper fastening, expansion allowance, and clean detailing. PVC can move with temperature changes, and it does not solve a water-management problem behind the board.
Aluminum-wrapped fascia can provide a clean finished surface and reduce painting needs. It works best over a solid, dry substrate. Wrapping over decayed wood is not a repair. It can hide the problem while moisture and structural damage continue behind the metal.
When a Partial Repair Makes Sense
Not every failed board means an entire roofline replacement. A limited repair can make sense when the damage is clearly confined, the adjoining fascia is sound, the rafter tails are solid, and the source of moisture has been corrected.
Full-run replacement is usually the smarter choice when rot is scattered across a long gutter line, paint failure is widespread, or the existing boards have reached the point where more patches are likely. It may cost more up front, but it avoids repeating setup work, gutter removal, and paint blending every time another section gives out.
This is where an honest inspection matters. The right scope should follow the condition of the house, not a one-size-fits-all approach.
Do Not Skip the Finish Details
Exterior carpentry lasts longer when the small details are handled before the finish coat goes on. That includes sealing joints, treating exposed cuts, using exterior-rated fasteners, and making sure caulk is used as a weather seal rather than a substitute for proper flashing or sound material.
Paint is also part of the protection system. Bare wood, unprimed cuts, and thin coverage on the lower edge of fascia are common places for trouble to begin. Good preparation takes time, but the things you do not see are often what determine how long the finished project lasts.
For Slidell homeowners, fascia replacement is a good opportunity to look at the complete roof edge instead of just the board that looks bad from the driveway. Spitzley Builds approaches exterior repair that way: identify the cause, repair the structure that needs repair, and finish the visible work cleanly. A straight new fascia board is satisfying to see, but keeping water from getting behind it is what makes the job Built Right, Built to Last.


Comments