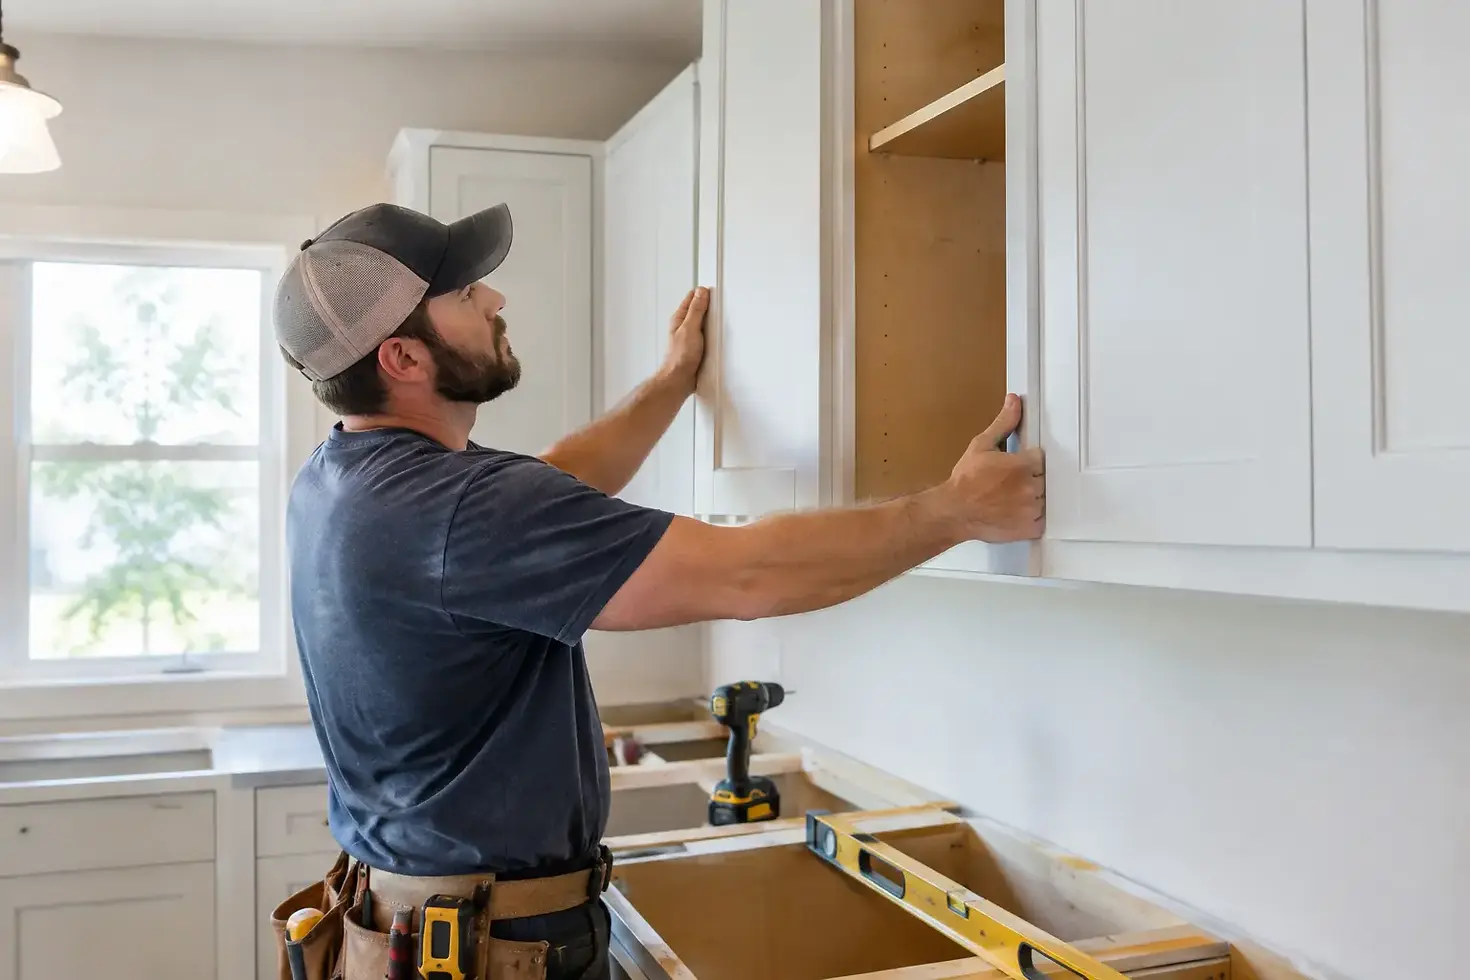
Cabinet Installation Guide for a Lasting Fit
A cabinet installation guide can make the process look straightforward: find the studs, hang the boxes, add doors, and call it done. In a real kitchen, laundry room, or built-in project, the finished result depends on what is behind and below those cabinets. A wall can be out of plumb, a floor can rise nearly an inch across the room, and a cabinet run can look crooked even when every box is technically fastened to the wall.
Good cabinet work starts with layout and ends with small adjustments that make doors line up, drawers operate correctly, and trim look intentional. The things you do not see are often what determine how long the finished project lasts.
Cabinet Installation Guide: Start With the Room
Cabinets are built square at the factory. Most rooms are not. Before any cabinet is brought into place, the installer needs to understand the condition of the walls, floor, corners, and openings.
The first step is finding the high point in the floor. This matters because base cabinets need to be installed level, and the high point establishes the starting height for the entire run. If cabinets are set directly on an uneven floor without checking it first, the countertop may slope, drawer reveals may change from one cabinet to the next, and appliances may not sit correctly.
From that high point, establish a level line around the room at the planned countertop height. A common finished countertop height is around 36 inches, but cabinet height, countertop thickness, flooring, and accessibility needs can change that number. The point is not to force every project into a standard measurement. The point is to establish a level reference before installation begins.
Walls need the same attention. Check them for plumb and look for bows or dips. A cabinet can be perfectly level and securely attached yet still leave an uneven gap against a wavy wall. That is where careful scribing, fillers, or wall repair may be needed. Caulk can hide a very small gap. It is not a substitute for correcting a cabinet that was installed out of position.
Confirm the Layout Before Fastening Anything
Cabinet plans are useful, but they need to be checked against the actual room. Verify the locations of plumbing, electrical boxes, appliance connections, windows, door trim, and heating or cooling registers. Measure more than once when a cabinet run ends at a wall, because a corner that looks square often is not.
This is also the time to confirm door swings and drawer clearance. A dishwasher, refrigerator, or oven may fit on paper but create a problem when doors are open. In tight kitchens, a few inches in the wrong place can affect how the whole room functions.
Secure Cabinets to Structure, Not Just Drywall
Wall cabinets are heavy before they are loaded with dishes. Base cabinets carry countertops, sinks, appliances, and daily use. Both need solid attachment to framing or another properly planned blocking system.
Stud locations should be marked clearly before cabinets cover the wall. Fasteners need to penetrate solid framing, not just drywall. The right screw length depends on the cabinet hanging rail, drywall thickness, and the material behind the wall, but the goal stays the same: secure the cabinet box into structure without driving a fastener so deep that it creates a problem on the other side of the wall.
A ledger board is one of the most useful tools for installing wall cabinets. It is temporarily fastened along the layout line to support the cabinet weight while the boxes are leveled, shimmed, and secured. It helps prevent a cabinet from drifting downward while you are trying to make clean, accurate connections between boxes.
Cabinets should be joined to each other through their face frames or designated fastening areas before the run is fully tightened to the wall. Clamp the faces flush, predrill where appropriate, and use fasteners that will not pull through or damage the finished surface. When cabinets are installed one at a time without connecting the boxes properly, small gaps and uneven faces often show up later.
Shims Need to Support, Not Just Fill Space
Shims are normal in cabinet installation. They compensate for walls and floors that are not straight. The mistake is using shims as loose spacers without securing the cabinet properly through them.
Where a cabinet is shimmed away from the wall, the fastener should pass through the cabinet, through the shim, and into framing. That way, tightening the screw does not bend the cabinet back toward the wall or leave the box under stress. Excess shim material should be trimmed cleanly once the cabinet is secured.
A cabinet box should sit level, plumb, and straight across its face. These are related but different checks. Level keeps horizontal lines true. Plumb keeps vertical sides straight. Straightness across a run keeps door and drawer faces from looking like they wander in and out.
Install Base Cabinets From the High Point
Base cabinets generally go in after the wall cabinets. Installing uppers first gives more room to work and reduces the chance of leaning over finished base cabinets while lifting and fastening wall units.
Start base cabinets at the floor high point and work outward. Cabinets on lower sections of the floor will need shimming to meet the level line. Do not cut down cabinets at random to chase an uneven floor. That can create problems with drawer openings, toe kicks, and appliance heights.
Corner cabinets deserve extra time. Once a corner cabinet is set wrong, every cabinet attached to it follows that error. Make sure it is positioned correctly, level in both directions, and aligned with the planned cabinet run before moving forward.
For sink bases, plan around the plumbing instead of cutting large openings before the cabinet is in place. Bring the cabinet close to its final location, mark the actual pipe positions, and cut only what is needed. Oversized holes can leave gaps that are difficult to hide and reduce support where it may matter.
If flooring will be installed after cabinets, the cabinet height and appliance openings need to account for the finished floor thickness. If flooring runs under the cabinets, that changes the sequence and the final elevations. There is no one right approach for every remodel, but it needs to be decided before installation rather than discovered when the dishwasher will not slide out.
Finish Details Are Part of the Installation
A cabinet run is not finished just because the boxes are attached. Doors and drawers need adjustment, fillers need to fit cleanly, and any finished panels, toe kicks, crown, or light rail need to work with the room.
Cabinet doors are adjusted after the boxes are stable. Most modern hinges allow small changes up and down, side to side, and in and out. These adjustments create even gaps and keep adjacent doors from rubbing. Drawers should open fully without scraping and should sit evenly when closed.
Fillers are often necessary beside walls, appliances, or uneven corners. They should look like part of the cabinetry, not like a strip that was added to cover a mistake. A properly scribed filler follows the wall while keeping the cabinet face straight and the reveal consistent.
Toe kicks should be secure and neatly fitted, especially at corners and ends. Finished end panels need to be installed with care because they are highly visible. Their alignment should match the cabinet faces, and exposed cut edges should be treated appropriately for the material.
For cabinets in kitchens, baths, and laundry rooms, water protection matters. Sink cabinets are especially vulnerable. Check supply lines, drain connections, and dishwasher lines for leaks before closing everything up. A small drip inside a cabinet can do more damage over time than homeowners expect.
When a Cabinet Project Needs More Than Installation
Sometimes the cabinets are not the only issue. A damaged subfloor, soft wall framing, wood rot near an exterior wall, poorly located plumbing, or an uneven opening may need attention first. Covering up those problems can make a new cabinet installation look good briefly, but it does not make the room sound.
This is where practical problem solving matters. The right answer may be a small repair before cabinets go in, a custom filler to handle an uneven wall, or a modification to make a stock cabinet fit a room that was never built square. The goal is not to make a problem disappear from view. The goal is to build the cabinet run so it stays secure and looks right over time.
For homeowners in Slidell and the Northshore, cabinet installation is often part of a larger update involving trim, shelving, repairs, or a better use of existing space. Spitzley Builds approaches those details the same way: measure carefully, explain the issue clearly, and build it right instead of rushing past the part that will cause trouble later.
A well-installed cabinet should not call attention to itself. Doors line up, countertops sit level, drawers work smoothly, and trim meets the walls cleanly. That quiet, solid result comes from taking the time to get the structure, layout, and finish details right before the room is put back into daily use.

Comments